[Index]
[Copyright Notice]
| <<- [Previous Page] | [Next Page] ->> |

|
Weather Photography
[Index] [Copyright Notice] |
|
|
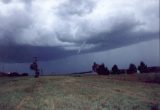
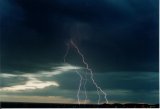 Coober Pedy, SA Photo by Todd Authur |
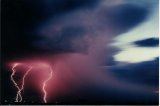 Coober Pedy, SA Photo by Todd Authur |
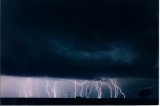 Coober Pedy, SA Photo by Todd Authur |
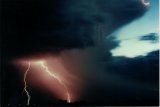 Coober Pedy, SA Photo by Todd Authur |
 Coober Pedy, SA Photo by Todd Authur |
 Coober Pedy, SA Photo by Todd Authur |
 Coober Pedy, SA Photo by Todd Authur |
 Coober Pedy, SA Photo by Todd Authur |
 Coober Pedy, SA Photo by Todd Authur |
 Coober Pedy, SA Photo by Todd Authur |
 Coober Pedy, SA Photo by Todd Authur |
 Coober Pedy, SA Photo by Todd Authur |
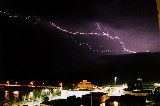
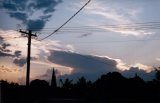 Photo by Stuart Lloyd |
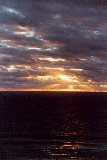
 Rockhampton, QLD Photo by Anthony Benger |
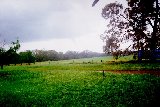
 Scarborough Beach, WA Photo by Michelle Johnston |
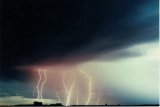
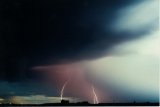
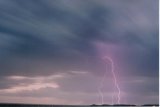
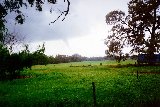
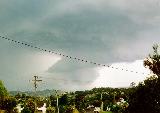
 Bearbung, NSW Photo by Chris Cooke |
 Bearbung, NSW Photo by Chris Cooke |
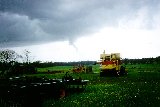 Bearbung, NSW Photo by Chris Cooke |
 Bearbung, NSW Photo by Chris Cooke |
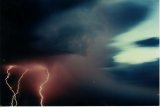
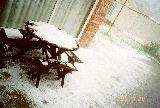
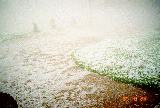
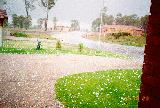
 Bundella, NSW Photo by Mrs Davidson |
 Bearbung, NSW Photo by Chris Cooke |
 Bearbung, NSW Photo by Chris Cooke |
 Bundella, NSW Photo by Mrs Davidson |
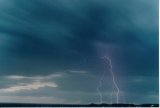
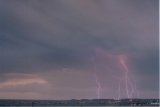
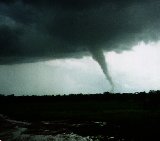
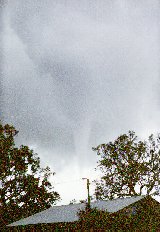
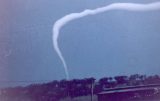
 Lismore, NSW Photo by Leith Martin |
 Lismore, NSW Photo by Leith Martin |
 Lismore, NSW Photo by Leith Martin |
 Lismore, NSW Photo by Leith Martin |
 Lismore, NSW Photo by Leith Martin |
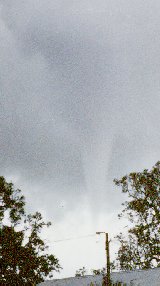
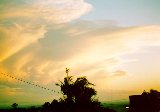
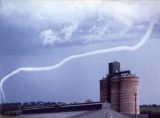 Merriwa, NSW Photo by Mike Hadfield |
 Merriwa, NSW Photo by Mike Hadfield |
 Merriwa, NSW Photo by Mike Hadfield |
 Merriwa, NSW Photo by Mike Hadfield |
 Merriwa, NSW Photo by Mike Hadfield |
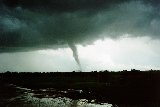
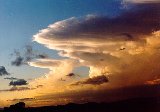
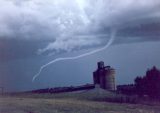
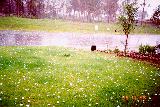
 Bonnyrigg, NSW Photo by Bert Garcia |
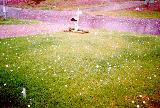
 Bonnyrigg, NSW Photo by Bert Garcia |
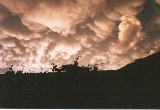
 Bonnyrigg, NSW Photo by Bert Garcia |
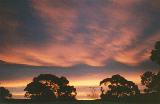
 Bonnyrigg, NSW Photo by Bert Garcia |
 Bonnyrigg, NSW Photo by Bert Garcia |
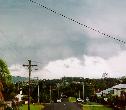
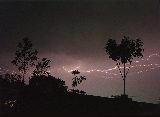
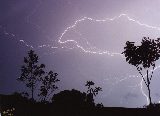
 Frenchs Forest, NSW Photo by Brett Wilson |
 Frenchs Forest, NSW Photo by Brett Wilson |
 Frenchs Forest, NSW Photo by Brett Wilson |
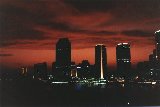 Brisbane, QLD Photo by Narelle Bowmaker |
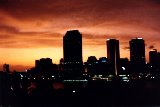 Brisbane, QLD Photo by Narelle Bowmaker |
 Devonport, TAS Photo by Andrew Boskell |
 Devonport, TAS Photo by Andrew Boskell |
 Devonport, TAS Photo by Andrew Boskell |
 Devonport, TAS Photo by Andrew Boskell |
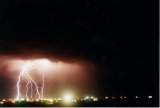
 Photo by Stephen Muscat |
 Photo by Stephen Muscat |
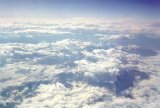 European Alps Photo by Stephen Muscat |
Photo by Stephen Muscat |
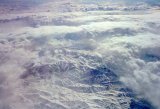 Photo by Stephen Muscat |
European Alps Photo by Stephen Muscat |
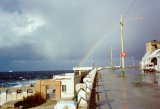 Malta Photo by Stephen Muscat |
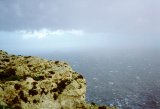 Malta Photo by Stephen Muscat |
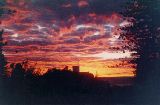 Photo by Stephen Muscat |

[Page 01][Page 02][Page 03][Page 04][Page 05][Page 06][Page 07][Page 08][Page 09][Page 10][Page 11][Page 12][Page 13][Page 14][Page 15]
[Page 16][Page 17][Page 18][Page 19][Page 20][Page 21][Page 22][Page 23][Page 24]
Keywords: Contributions Received, submissions, clouds, photographs, photography, photos, pictures, clouds, images
| Document: received02.html
Updated: 15 September, 2009 | [Australian Severe Weather index] [Copyright Notice] [Email Contacts] [Search This Site] [Privacy Policy] |